User-agent: facebot User-agent: twitterbot User-agent: Photon/1.0 User-agent: CCBot User-agent: GPTBot User-agent: ChatGPT-User User-agent: anthropic-ai User-agent: FacebookBot User-agent: Amazonbot User-agent: Applebot Disallow: /

technique

Book Release: Vancouver Island Wildlife - A Photo Journey

As you all know, over the last year, I have been working hard to photograph interesting species that call Vancouver Island home, such as the elusive Roosevelt elk and the rare Vancouver Island marmot. The result is the creation of my book Vancouver Island Wildlife - A Photo Journey, which is being released in early October.

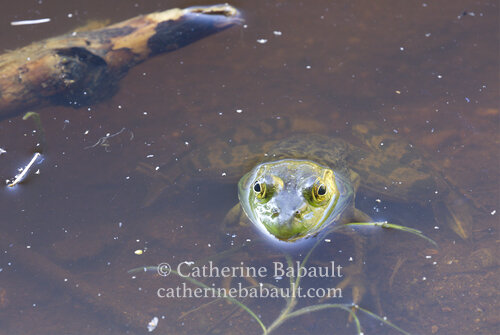
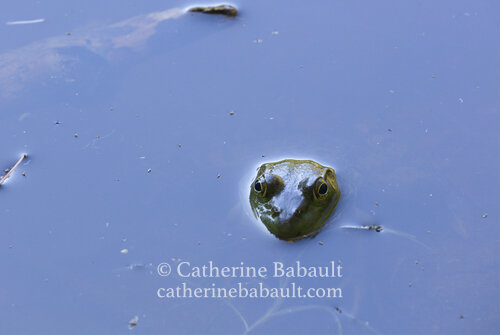
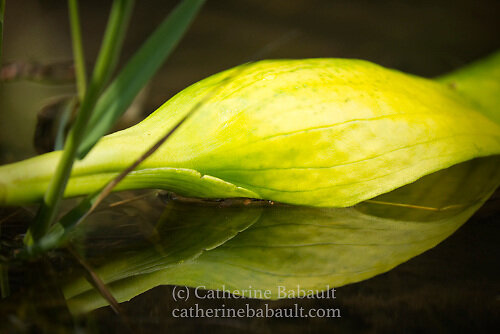
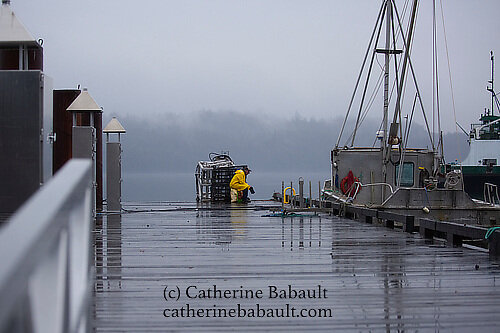
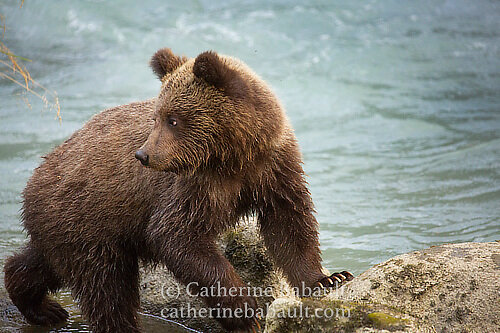
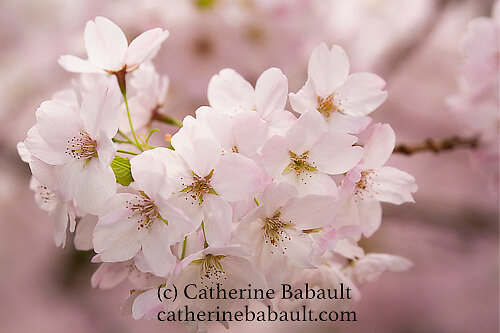
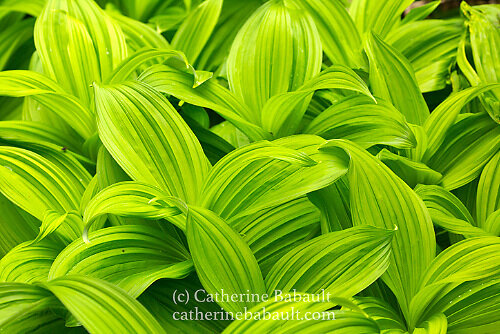
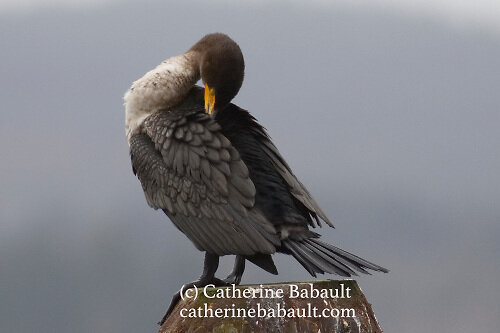
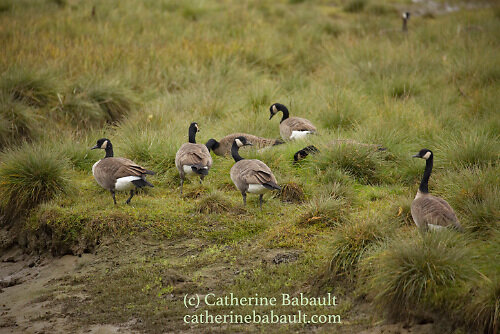
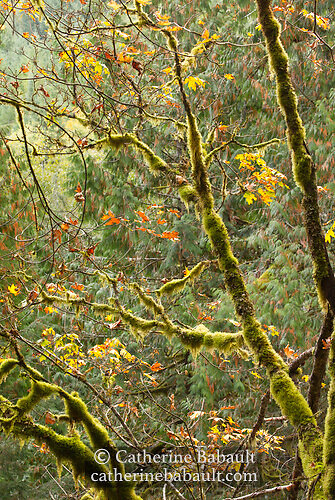
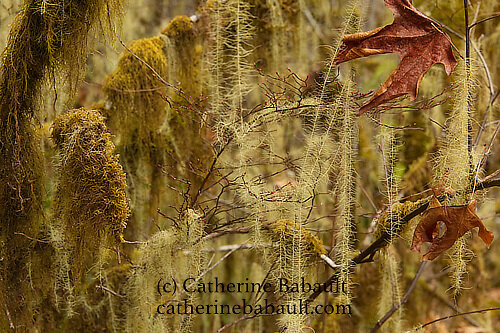
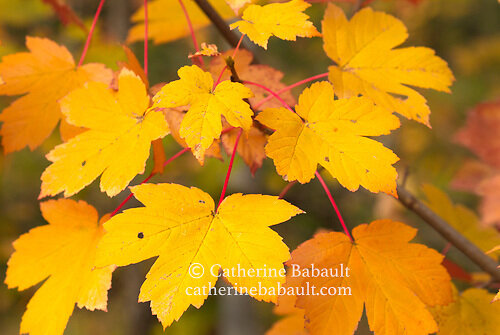
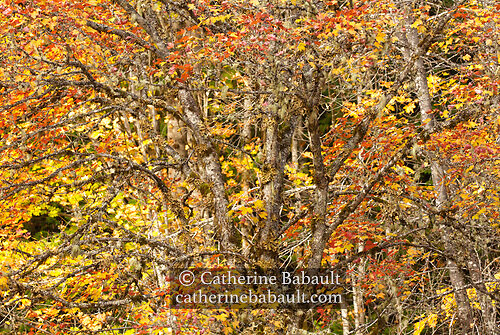
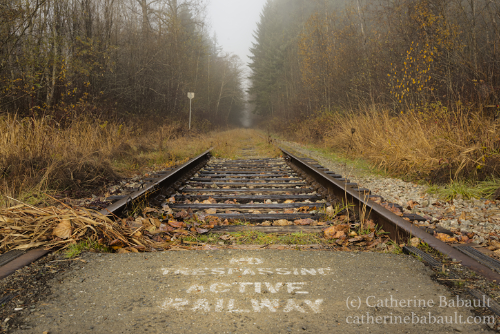
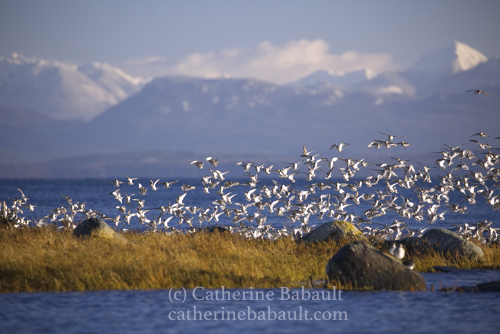
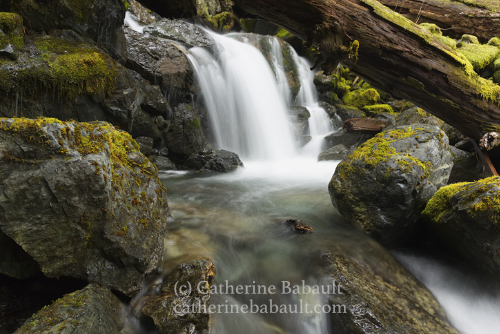
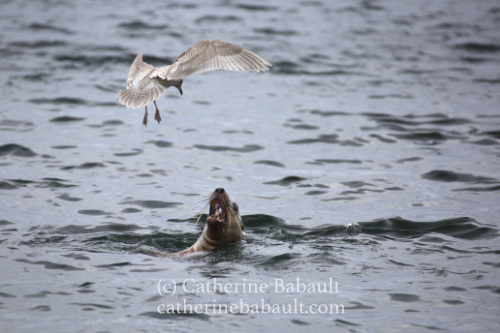
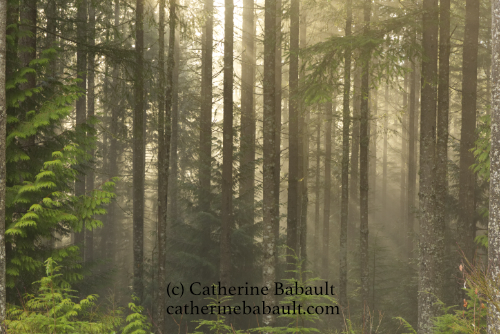
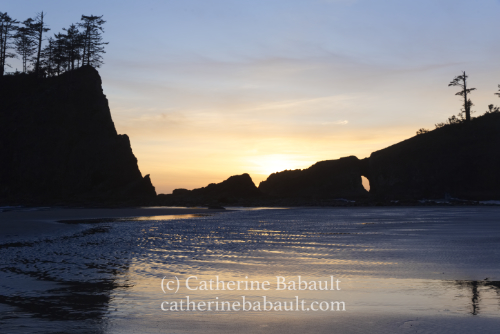
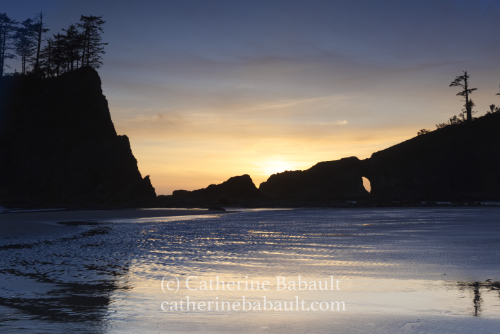
Divided into two sections, On the Coast and In the Forest, this photographic journey features over 150 stunning images of Vancouver Island’s biodiversity and wild landscapes. This books presents rare and candid moments featuring charismatic animals, such as the black bear, sea otter, Roosevelt elk, sea lion, bald eagle, and the rare Vancouver Island marmot as well as intimate portraits of flora species found in the rainforest and in subalpine meadows. Splendid images of moss-covered trees in autumn foliage complete this compilation of impressive photographs. Captioned with anecdotes, and conservation and photographic techniques information, this beautiful book invites you into a natural world with unique ecosystems, and is certain to capture the interest of photographers, travellers and nature-lovers.

Pre-order your signed copy today! Books are shipped worldwide.

An amazing photographic journey in the wilderness of Vancouver Island that presents compelling images of elusive wildlife, stunning landscapes and unique ecosystems.

Polarizing Filter

Not the greatest images but perfect to demonstrate what a polarizing filter does. It allows you to:

  • Suppress glare from shiny surfaces such as water, windows, leaves, etc.,

  • Manage reflections,

  • Darken skies, and

  • Protect your lens.

I love it when my models are as cooperative as this lovely frog.

Update on Nature Photo Workshops

Great news! My photo workshops are now open to anyone living in British Columbia.

The day prior to the start of the workshop, you will be asked whether you have symptoms of COVID-19, have been in close contact with someone who has confirmed or suspected COVID-19, and have travelled outside British Columbia in the last 14 days. During the workshop, participants and the instructor will be required to wear a non-medical mask or face covering (please bring your own mask). Contact me if you would prefer to schedule a photo workshop with members of your circle only.

It’s time to get out of the house, enjoy nature on beautiful Vancouver Island and refine your photo skills!

Catherine

Photo Technique: How to use colours for dramatic effect?

Red, yellow and blue are primary colours for pigment. Violet, orange and green are secondary colours. To create a bold image, use complementary colours: orange and blue, green and red, yellow and purple. Complementary colours opposite each other on the wheel of colours.

Wheel of colours

Wheel of colours

Orange against dark blue

Orange against dark blue

Upcoming Workshops

Photo Technique: What is the triangle of exposure?

It allows you to control the exposure by setting up the shutter speed, lens aperture and ISO based on the intended mood of your photograph. A slow shutter speed will change rain or snow in streaks; it can also be used to isolate the subject. A small lens aperture gives a wide depth of field, where all elements of the image are in focus. Low ISO can be used for a long exposure.

Slow shutter speed

Slow shutter speed

Small lens aperture

Small lens aperture

Upcoming workshops

Photo Technique: How to create a strong black and white photograph?

A simple composition associated with a careful use of geometry, lines, curves, contrast and negative space.

_C6A6993a.jpg
Upcoming Workshops

Photo Technique: How to reduce noise in an image?

There are a few actions you can take:

  • Expose to the right by either opening up the lens aperture or by using a slower shutter speed. An underexposed image later brightened on a computer will result in a lot of noise and other artefacts.

  • Determine your camera’s high ISO capability by conducting a simple test. Place your camera on a tripod and take the same photograph of a subject with dark areas, at various ISO starting at 100 all the way up by increment of full stops. Verify the progression in the amount of noise by enlarging each image on your computer screen.

_ABO9041a.jpg
Upcoming Workshops

Photo Technique: What makes a compelling image?

Many factors are to be considered but professional photographers, photo editors and jury members on photo competitions agree that what makes a compelling image is a unique perspective on the subject, sharpness and good composition. How to create a good composition? Keep it simple! Isolate your subject by getting rid of distracting elements, determine your source of light and use the elements of design: lines, pattern, shape and texture.

Upcoming Workshops

Photo Technique: Depth of Field

A narrow depth of field isolates the subject. It makes it stand out against a blurred background because the viewer’s eye is naturally attracted by a sharp subject. A wide depth of field put the subject into context. The entire picture is sharp so the viewer tends to look at the subject in relation to its surroundings.

Upcoming workshops

Photo Technique: How to use the White Balance?

The colour temperature is measured in Kelvin degrees (k):
- Daylight: 5200 k
- Shadow: 7000 k
- Cloudy, sunrise and sunset: 6000 k
- White light or fluorescent: 4000 k
- Candlelight: 2000 k
Depending on the source of light illuminating the scene, adjust the white balance on your camera by choosing either the preset for Kelvin degrees or the symbol for Cloudy, Sunny, Fluorescent light, etc.

Cold Colour Temperature

Cold Colour Temperature

Warm Colour Temperature

Warm Colour Temperature

Upcoming Workshops

Photo Technique: Expose to the right

We expose to the right with a digital camera because of the way digital image sensors record information: they record more detailed information in bright areas than in dark areas, which means you see fine details and smooth ranges of tone and colour in bright areas and can see noise in dark areas.
In order to maximize the amount of recorded information, brighten your exposure without blowing out the highlight details. Exposing to the right means the histogram display is pushed to the right, in the brighter values.
This fine-tuning is key to achieve the best image quality.

_ABN5341a.jpg
Upcoming Workshops

Photo Technique: : How to obtain maximum focus?

Use a small aperture such as f/16, low ISO, make sure the back of your camera is parallel to your subject and use your tripod.

_ABN3571a.jpg

The Basics of Photography

Composition, exposure, shutter speed, ISO, aperture, opening up, spotlighting, centre-weighted meter: you might be familiar with some of these terms but it’s not always obvious how to adjust your camera accordingly. I offer half-day and multi-days workshops to help you understand and practice the fundamentals of photography. Once you master the basics, you’ll be able to take manual control of your camera and get better results.


All my workshops are given in the field for a hands-on experience. Get in touch so we can arrange for a workshop.

_ABN2901a.jpg
Upcoming workshops

How to take better images

No matter our level in photography, we all strive to become better at it. Once we get an amazing shot and recognition from our peers, we feel the pressure to surpass that image or, at least, maintain the same level of quality in our work. Here are a few basics to remember:

Find your subject

Ask yourself what makes you pick up your camera in the first place, what you’re interested in: puppies, bears, birds, people, derelict places…

Do your research

Find out more about your subject’s behaviour, the best times and places to photograph them. Study maps, wildlife life cycles, animal tracks and droppings, almanach, tides tables, local news… Explore your area on foot and note your observations. Determine the most favourable type of weather based on the intended mood of the image. Visualize your shot. Evaluate travel time to location and preparation time in the field. Keep all your notes in a notepad.

Know your camera

Make the most of your camera. No matter the (limited or extensive) range of settings, you have to know their function, location on the menu and how to quickly adjust them. Read the manual. That’s right, read the entire camera manual. The more you know about your camera, the most you’ll get out of it.

In the field

With all that knowledge in hands, you get to location, find your subject, frame it and press the shutter button. Next, check the strength of your composition, the sharpness of your image and verify the exposure on the histogram. It’s important to take your time in the field because mistakes cannot be fixed at home, even with the best photo editing program. An out-of-focus image is an out-of-focus image. A badly composed image will remain a badly composed image - forever.

Back at home

Once you display your images on a bigger screen, study them closely and judge their quality. What worked, what didn’t? Why? What can be improved? How? Find resources that can help you improve your techniques or artistic vision. The best way to progress is to learn from your mistakes and practice a lot. The more you practice, the better you’ll become, just like an athlete.

Be unique!

Get inspiration from your favourite photographers but avoid copying their style. Find your own voice. It’s okay to be different and not follow the latest trend. Your images will be more meaningful if they reflect your own vision and sensibility towards the subject.

_C6A6993a.jpg

Autumn Vibes on Vancouver Island

Change of season can mean a change of subject for nature photographers. During the autumn on Vancouver Island, I turn my attention to local forests with deciduous trees like maple trees. They produce various shades of yellow, orange and red and are some of my favourite subjects to photograph at this time of year. I often return to the same woodlands several times during the season to capture the progression of the colour change. I visit these spots during the day, at night, and in various weather conditions: wind, fog, light rain or cloud covered. Each situation tells a different story.

When I walk in the forest, I look for patterns, shapes and texture. I look up, down, I lay on the ground, get on my knees, stand on boulders, as I look for a unique perspective on my subject. I like simple compositions. When I frame my subject, I make sure that they are no distracting elements and no lines leading the viewer’s eye out of the frame. Only then I press the shutter-release button.

I hope you find your own inspiration in the woods.

Triangle of exposure

Three elements constitute the triangle of exposure: aperture, shutter speed and ISO:

  • Aperture (f/N): light passing through the lens

  • Shutter speed: how long the shutter stays open

  • ISO: image sensor’s sensitivity to light

A small aperture (i.e. f/16) gives a deep depth of field and is usually used for landscape.

A fast shutter speed (i.e. 1/1000 sec) is used to freeze motion, like birds in flight or action shots. It also gives a shallow depth of field.

A slow shutter speed (i.e. 1/4 sec) is great for motion blur like milky water effect or rain streaks. Slow shutter speed is also used for night photography or poorly lit areas. In any case, a tripod is highly recommended for long exposures.

Before you adjust the aperture, shutter speed and ISO on your camera, you need to ask yourself: What effect do I wish to create? What is the mood of my image? What am I trying to tell?

Use the light meter in your camera to help you get the proper exposure. Light is measured in Exposure Value (EV) and typically displays in cameras from - 3 EV to + 3 EV

-3 _____ -2 _____ -1 _____ ∆ _____ 1 _____ 2 _____ 3

under exposed correct expo. over exposed

Once you’ve taken your shot, check the histogram and readjust your exposure if necessary.

Time to practice. Let me know how it goes!

Composition

Composition can be daunting. The good news is you can learn about it and get better with time and practice!

When I’m in the field, I always look for interesting shapes, patterns, lines and texture. Once I find a potential subject, I evaluate the intensity of the light, its direction and the need to use filters or not. I identify distracting elements, determine my focal point and move around to find my composition. I establish the depth of field, what should be in focus and which lens to use. Then I set up my tripod, which is essential in order to get sharp images. After taking my shot, I check the histogram and the clarity of my image on the back screen. From there I can adjust my composition accordingly. I find that seeing my image on the small screen tells me right away if the composition is good or not.

I believe that a poor image cannot be fixed with a software so I prefer to take the time to compose my images while I am in the field. I also prefer to spend my time outside rather than in front of my computer!

If you’re ready to learn how to get better images, sign up for an upcoming workshop or ask for a private workshop.

mussels on pipeline.jpg

Get off Auto, create your best images this summer!

Just added 3 workshops in English and 3 in French, all in the Comox Valley, and on Saturdays afternoon.

  • Learn how to use your camera on manual mode

  • Learn about exposure, depth of field, focus, and key elements of composition

  • Use technical and creative elements together to improve your images

  • Get more confident with your camera and your skills

  • Get more one-on-one time by being part of a small group of 5 participants

  • Take your newly acquired knowledge to your next trip

Book now!

IMG_0201a Get off Auto.jpg

Graduated ND filters

Graduated neutral density filters, or graduated ND filters, are used by photographers to control very bright areas of a scene. A graduated filter is made of glass which is half dark and half clear with a soft or hard edge between the two parts. Graduated ND filters come in different density, typically from one to 10 f-stops.

Fix or hand-held the filter in front of your lens. Place the darker area over the part you wish to darken (i.e. bright sky). The clear part of the filter will keep its normal brightness. You’ll notice that once you have placed the filter in front of your lens, you’ll need to re-adjust the exposure. You can use a graduated filter to emphasize an area of your image by darkening a less important area, knowing that the viewer’s eyes are naturally attracted by lighter areas in a photograph.

Note: The transition between the dark and clear parts of a filter can create an unnatural line in your image so use the proper density filter.

Nature Photography - Field Tips

It’s mating season and if you are into that kind of pictures then there are a few things to consider before heading out.

First you need to learn about your subject: mating call, mating ground, habitat, food source, droppings and even tracks. For bird photographers, there are several websites dedicated to bird songs. Start memorizing songs and calls, it will be easier for you to locate birds once you’re in the field.

Mating season on Vancouver Island, BC, Canada.

Mating season on Vancouver Island, BC, Canada.

Find your subject’s resting or nesting area and return there very early in the morning. Wait for them to wake up and start their day. Did you know that some birds tend to face east in the morning to warm up in the sun? Leave plenty of space for your subject and observe them while they pursue their activities. With a good zoom lens, you’ll be able to capture their routine. Be patient! You might need to stand still in inclement weather or in an awkward position for a very long period of time before you get a rewarding image.

I hope you enjoy the awakening of nature as much as I do!